


Google Adsense is perhaps the easiest way to monetize your WordPress website. By displaying Google ads that match the content on your website, you can start to make money online. For many years, inserting Google Adsense ads into a WordPress website needs a bit of work. Though there are many third-party AdSense WordPress plugins or WordPress themes that can help, they are often hard to customize.
To meet people’s needs for an easier way to work with Google products within WordPress, Google officially released its Google Publisher Plugin on January 15th, 2014. According to Google, this new plugin currently gives you access to Google Adsense and Google Webmaster Tools all within WordPress.
Google Publisher Plugin links your WordPress site to your AdSense account and makes it easier to place ads on your site without needing to manually modify any HTML or CSS code. Furthermore, it allows you to verify your site on Webmaster Tools with just one click. (Please note, Google Publisher Plugin does not work with websites on WordPress.com.)
I’ve tried Google Publisher Plugin and love it. It is powerful and easy to use.
I will show you how to use Google Publisher Plugin to insert Google Adsense Ads to your WordPress website step by step.
- You need to have a Google Adsense account to use this plugin. If you don’t have one, apply for a Google Adsense account from http://www.google.com/adsense. It takes about a week for Google to decide whether to approve your application or not.
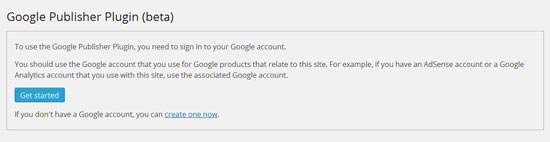
- Log in to your WordPress website admin site and install Google Publisher Plugin. Once it is activated, go to Settings > Google publisher Plugin and click on the “Get Started” button to verify that you own the website.
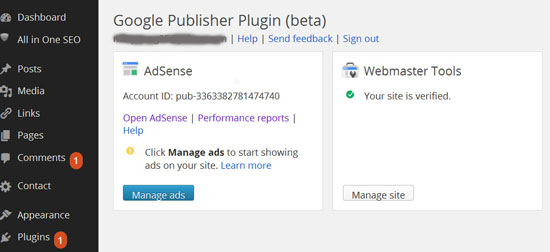
Note: If you haven’t verified your site, the plugin will ask you to verify your site in Google webmaster Tools. Follow this guide to verify your Wodpress website in Google Webmaster Tools. - Click on the “Manage ads” button to let the plugin analyze your site and suggest ad placements. The suggested ones are marked as red circles with a “+” sign.

- Here comes the cool part . . . just click on any of the red circle and it will automatically add the ad block for you.
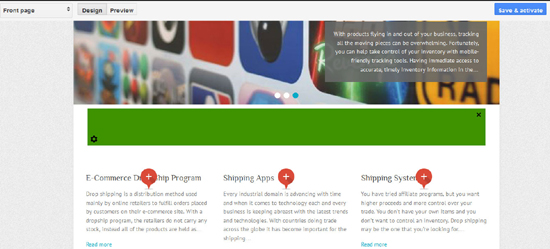
- You can also change ad format and type by clicking on the small black gear icon in the bottom left corner of the green ad block to pick the desired one.
There are four different ad formats available:
- Automatic (use whichever size and shape is most appropriate)
- Horizontal banner (a wide, thin ad such as 728×90)
- Vertical banner (a narrow, tall ad such as 160×600)
- Rectangle (an ad with similar width and height, such as 300×250).
Then click on the “Preview” link to see how you like it. Click on the “Design” link to select another one. You can place up to three ads on each page.
Once you are done, click on the “Save and activate” blue button.
- You need to do the same for different templates on your website. In this example, I have front page, home page, single post, single page, category and archive templates. Simply select one template from the drop-down list to insert Google ads.

You see it is very easy to insert Google Adsense code into your WordPress. I think the biggest advantage of Google Publisher Plugin is that it gives you the flexibility to select the most optimized placements for your Google Adsense ads. It will very likely to increase your Adsense income 🙂
Just keep in mind that Google Publisher Plugin is in its beta version. There might be some bugs. Google are fine-tuning the plugin to make sure it works smoothly. Happy blogging and make more money online 🙂
Feel free to contact me if you have any questions regarding Google Publisher Plugin.

